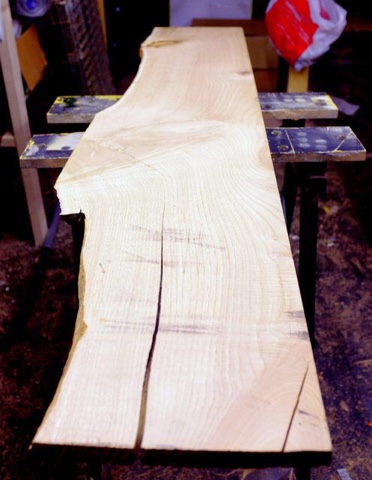
Industrial designer and jeweler Mat Brown came up with this awesome technique for taking a split, live-edge length of chesnut wood, and rather than fixing its flaws, decided to highlight their natural character. By making them glow in the dark.
Mat detailed his process on a Reddit post, where his mixes a two-part resin with some glow-in-the-dark pigment from eBay, and then planed and sanded everything smooth.

Sealing the holes with aluminium tape.

Set it somewhere good and level otherwise the resin will be a mess.

Ready to mix

Bag of pigment. Traditionally resin inlay is colour-matched to the wood, but I'm going down a different path.


 It's going to take a while to set, I think I left it nearly a week in the end.
This is going to look amazing. Now only the long, long job of planing, carding and sanding this lot flat.
My favourite part, the first coat of oil. I love that moment where you wipe the oil over and the grain just leaps out at you. They got about eight thin coats of boiled linseed oil..
No comments:
Post a Comment